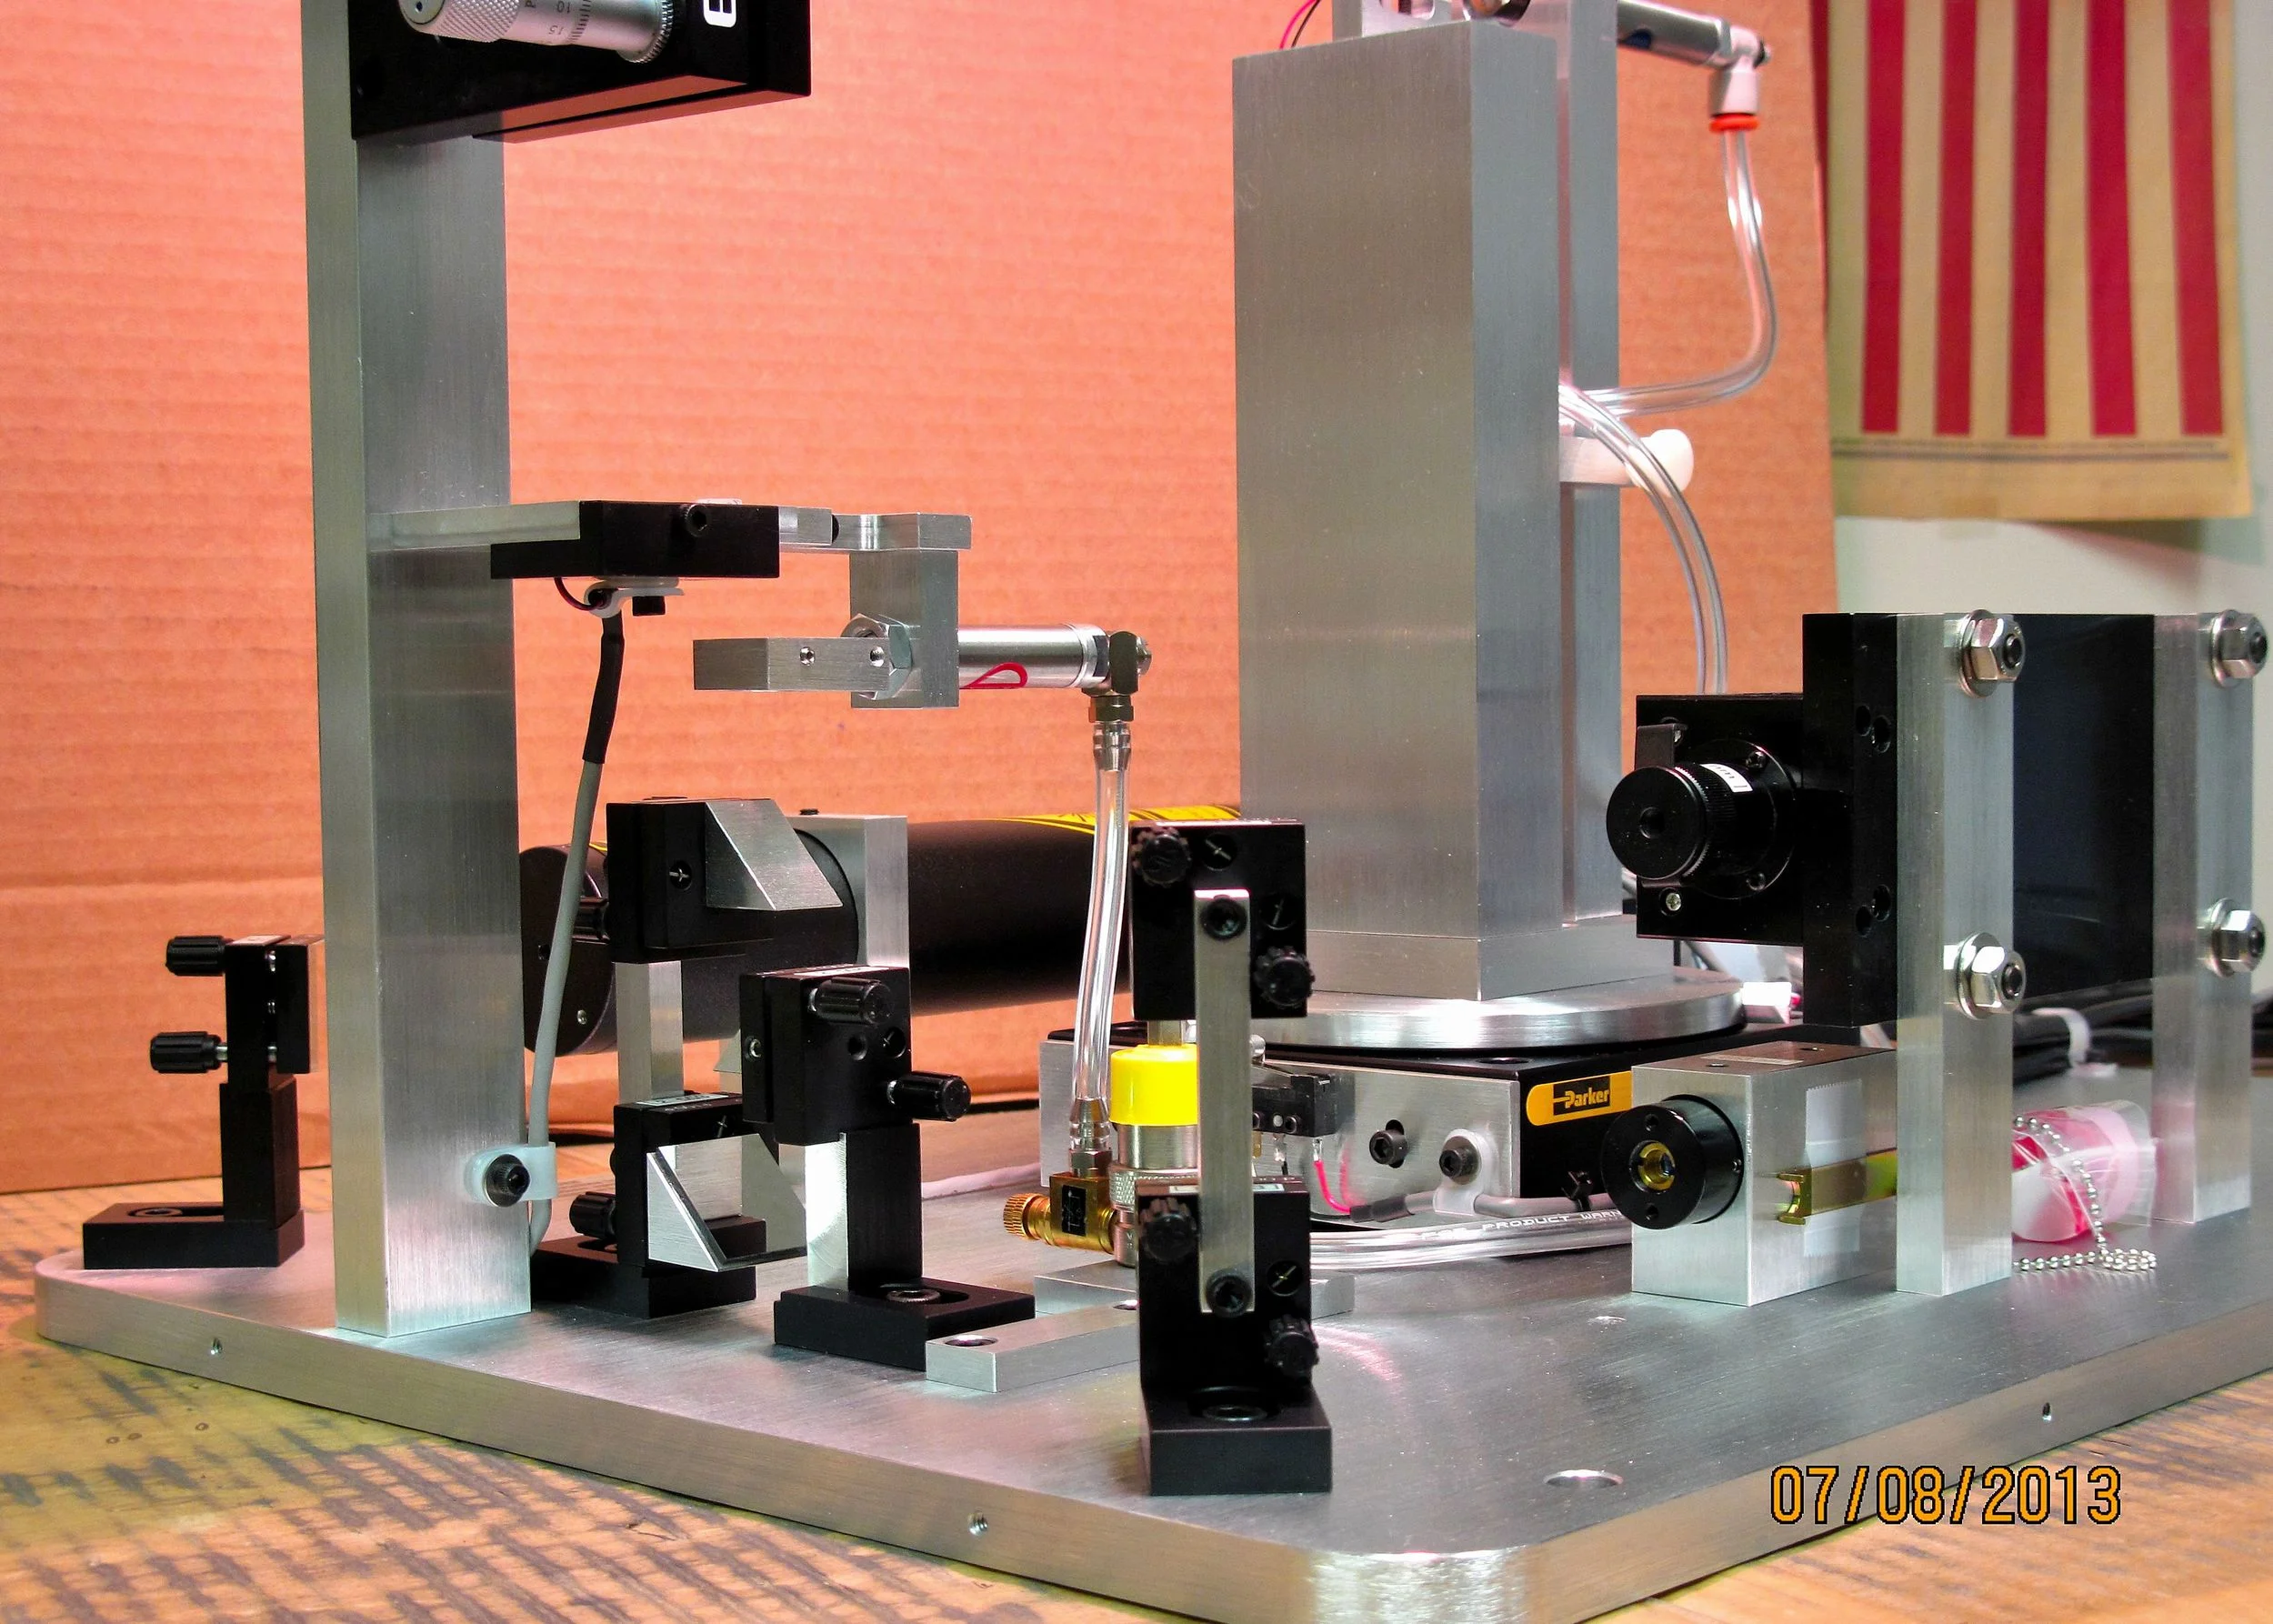
High Accuracy Measurement Of Resist, Polyimide, and Polymer Thin Films
The Model 2010/M’s ease in measuring thickness and index of relatively thick and optically absorbing films (including free-standing films) makes it an ideal tool for production or R&D measurements of photoresists, polyimides, or other polymers. In particular, the 2010/M’s routine ±.0005 index resolution (higher resolutions are available) makes possible routine monitoring of the overall processing consistency of these films with a speed, a simplicity, and a sensitivity which have not been possible before. With the TM option, both in-plane and perpendicular-to-plane indices can be measured, allowing simple determination of film birefringence. In addition, refractive index gradients with depth often found in films of this type can also be observed. Finally, with the VAMFO option, non-contact measurements of thickness only are possible on films as thin as two microns, or as thick as 100 microns.
Virtually every stage in the processing of these films (hard or soft bake, optical exposure or polymerization, and development) results in changes to film thickness, refractive index, and dispersion (variation of index with wavelength). With its ability to resolve slight index changes, and to distinguish between subtle thickness and index changes, the Model 2010/M can effectively monitor process consistency (bake consistency, degree of polymerization, etc.) throughout the complex processing of these films.
In comparison with ellipsometry, the 2010/M offers a routine ±.0005 refractive index resolution, a resolution which highlights processing inconsistencies which would otherwise go undetected with ellipsometry. Moreover, for many applications, index resolution as high as ±.0001 is achievable. In addition, typical resist, polyimide, or other polymer films fall into the thickness range from one to several microns, an optimum range for prism coupling measurements. This same thickness range presents difficulties for ellipsometry because of the cumulative effect of optical absorption across the full film thickness, and because of the ellipsometer’s requirement that film thickness be known in advance to half an ellipsometer period (i.e., ±75 to ±125 nm for typical films).
In comparison with instruments based on spectrophotometry (simple interference vs. wavelength), the 2010/M offers the obvious advantage of independent measurement of both thickness and refractive index. Moreover, since spectrophotometric instruments must make assumptions about film dispersion (variation of film index with wavelength), they are calibrated only for fixed menus of certain film/substrate combinations in certain (and often restricted) thickness ranges. With the 2010/M, virtually any transparent or semi-transparent film from 0.4 to 15 microns (and up to 100 microns with the VAMFO option) on virtually any substrate material, can be measured.
In a production setting, the Model 2010/M should be viewed not as yet another instrument for measuring film thickness, but as a powerful tool for monitoring overall processing consistency. As an example, the degree of solvent removal following bake, and thus bake consistency, can be monitored via small refractive index changes resolvable only with the prism coupling technique. If the 2010/M’s 20-second thickness-index measurement is simply substituted for an existing thickness-only measurement, sensitive monitoring of the overall consistency of resist/polyimide/polymer processing can be achieved without the addition of any process measurement overhead.
In an R&D setting, the 2010/M’s ability to track often-subtle changes in film thickness and index during processing makes it the ideal tool for studying the fundamental behavior of these films. As an option, the system can even be provided with multiple wavelength light sources so film dispersion can be measured. The Model 2010/M’s data analysis software is completely general, ensuring that virtually any type of material, from the most mundane to the most exotic, is measurable.
In general, measurements of films on transparent substrates or on transparent low-index underlying films are much easier to make with the prism coupling technique than with other instruments. The reason for this is that in prism coupling measurements, light is totally contained within the film being measured, and troublesome reflections from the back side of the transparent substrate or underlying film do not result. In addition, the 2010/M also offers major advantages for measurements of films over metal substrates or over underlying metal films, since the 2010/M is relatively insensitive to variability in the reflectivity/roughness of underlying metal layers which often lead to inaccuracies in other instruments.
For measurements of index anisotropy (due to mechanical stretching, molecular orientation/polarizabilty, or electrical poling) the 2010/M is unsurpassed, provided rapid and simple measurements of index in x- y- and z-axes. Normally, the basic 2010/M measurement uses TE modes to measure refractive index in a direction parallel to the film plane along a line perpendicular to the plane of incidence. For films with in-plane index anisotropy (e.g., stretched films) simple rotation of the film sample about the measurement allows index measurement along any line lying in the plane of the sample. Finally, with the TM option, refractive index in the direction perpendicular to the film plane is easily measured.
Measurement of In-plane (TE) and Perpendicular Plane (TM) Index for Thick Polyimide
In many cases of practical interest, the 2010/M can currently provide semi-quantitative measurement of refractive index variation in films with depth, and development of new algorithms is in progress which should make this measurement truly quantitative. Please consult Metricon for details.
For applications in which contact to the film is undesirable, the VAMFO option can provide routine non-contact thickness-only measurement of films in the thickness range of 2-100 microns in 20 seconds or less, with occasional refractive index monitoring provided by prism coupling measurements at appropriate sampling intervals. Like the prism coupling technique, VAMFO measurements are monochromatic, so that the inaccuracies of spectrophotometric techniques caused by film dispersion (index change vs. wavelength) are avoided. Changeover between prism coupling and VAMFO measurements is rapid (less than one minute). For more details, please request a data sheet on the VAMFO option, #2010/M-VO.


